Many fashion brands struggle with unpredictable sample timelines, costly revisions, and quality inconsistencies. These challenges slow down scaling and damage brand reputation. A clear, step-by-step sample development process can restore control, reduce costs, and ensure quality.
Table of Contents
- Prerequisites: What You Need Before Starting Sample Development
- Step 1: Design & Technical Review
- Step 2: Documentation & Communication
- Step 3: Fit Correction & Revisions
- Step 4: Cost Breakdown & Timeline Mapping
- Step 5: Quality Control Checks
- Common Mistakes & Troubleshooting in Sample Development
- Expected Results & Outcomes: Benchmarks for Success
- Streamline Your Clothing Sample Development With Protek & Friends
- FAQ
Key takeaways
| Point | Details |
|---|---|
| Clear prerequisites and tech packs reduce costly errors | Detailed documentation and design concepts prevent miscommunication and expensive rework. |
| Iterative fit testing ensures consistent sizing | Two to three fit test rounds with real users reduce returns and boost customer satisfaction. |
| Cost and timeline mapping set realistic expectations | Typical sample development ranges $150-$300 per style and takes 4-6 weeks. |
| Quality control checks cut bulk production defects | Rigorous sample QC reduces defects in large orders by up to 50%. |
| Avoiding common mistakes prevents delays | Structured communication and fit testing eliminate the majority of timeline overruns. |
Prerequisites: what you need before starting sample development
Having understood the importance of a structured process, now explore what foundational elements you must have ready before starting sample development. Without these prerequisites in place, even the best development workflow will falter.
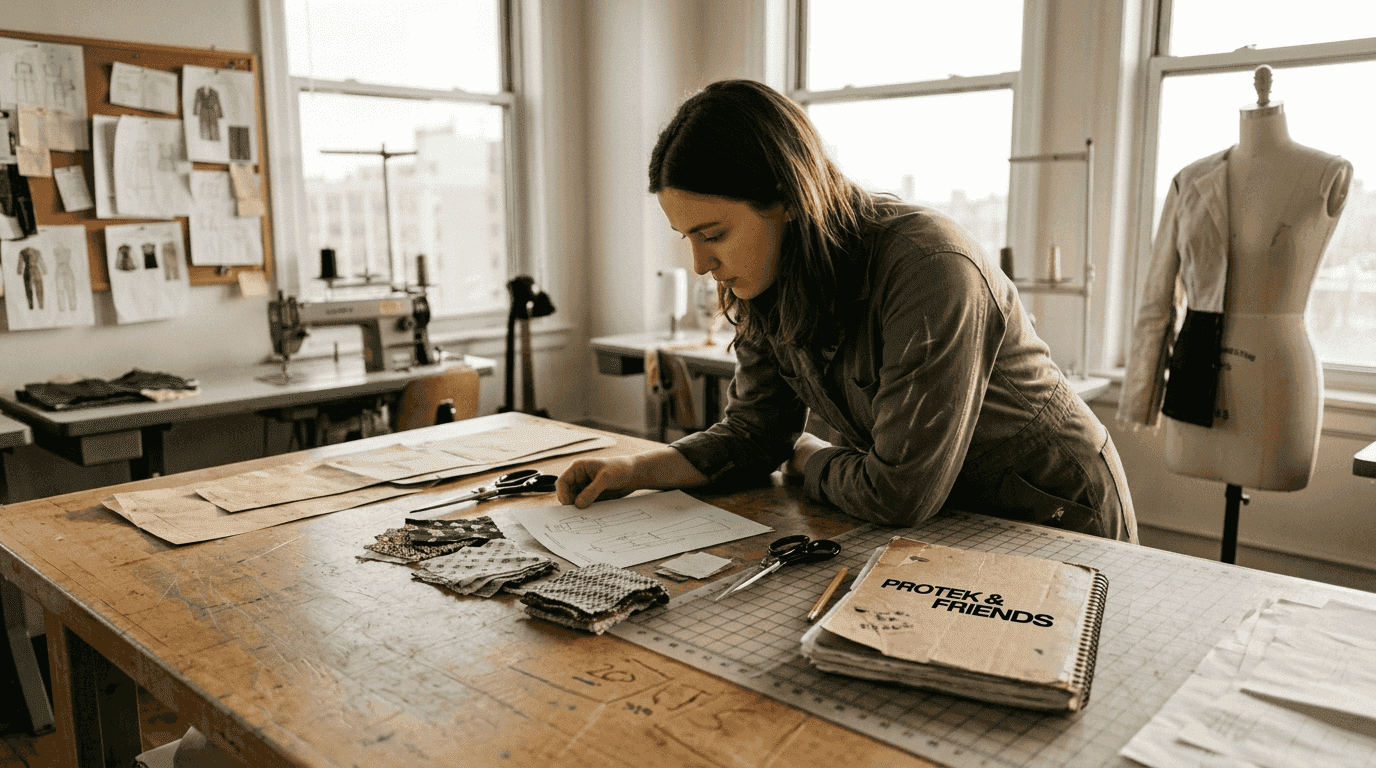
A clear, detailed design concept is critical for communication. Sketches, inspiration boards, and reference garments help manufacturers understand your vision. Basic understanding of garment construction helps anticipate issues before they become expensive problems during sampling.
Access to reliable fabric and trim suppliers before sampling is essential. Sourcing materials after sample approval causes delays and forces costly redesigns. Decision on manufacturing location impacts cost, speed, and communication. Domestic sampling typically costs more but offers faster turnaround and easier collaboration, while overseas options reduce per-unit costs but extend timelines.
Tech pack creation tools or templates enable precise documentation. Whether you use specialized software or detailed spreadsheets, consistent formatting prevents ambiguity. Many brands launching their first collections benefit from understanding the launch clothing line guide fundamentals before diving into sample development.
Key prerequisites checklist:
- Finalized design sketches with clear technical details
- Confirmed fabric and trim sources with lead times
- Manufacturing location decision (domestic or overseas)
- Tech pack templates ready for population
- Budget allocated for sample iterations
- Timeline expectations aligned with production calendar
| Prerequisite | Domestic Sampling | Overseas Sampling |
|---|---|---|
| Typical Cost Range | $200-$400 per sample | $150-$250 per sample |
| Timeline | 2-3 weeks | 4-6 weeks |
| Communication Ease | High (same timezone) | Moderate (time zone challenges) |
| Minimum Order | Often lower | May require higher minimums |
Step 1: design & technical review
With prerequisites in place, the first critical action is thorough design and technical review to catch issues before sampling begins. This stage prevents the majority of costly revisions later in the process.
Collaborate closely with your technical team to dissect design details. Every seam, pocket, and finish needs evaluation for manufacturability. Identify complex features that may cause production errors such as intricate topstitching patterns, unusual fabric combinations, or specialized hardware that requires custom tooling.
Adjust and simplify designs proactively to prevent delays and costly sampling iterations. Sometimes a slight modification to a collar construction or pocket placement can save thousands in rejected samples. Review material compatibility and construction methods early to ensure fabrics behave as expected during cutting and sewing.
Understanding how to effectively manage clothing production provides valuable context for this technical review stage. Manufacturers can spot potential issues you might miss, so invite their input during design refinement.
Key technical review focus areas:
- Seam allowances and construction sequence
- Pattern complexity and grading feasibility
- Fabric behavior (stretch, drape, shrinkage)
- Trim availability and attachment methods
- Special finishes and their timing in production
- Packaging and presentation requirements
Pro Tip: Document all design adjustments and communicate changes promptly to manufacturers to maintain alignment. A simple change log prevents confusion when comparing sample versions.
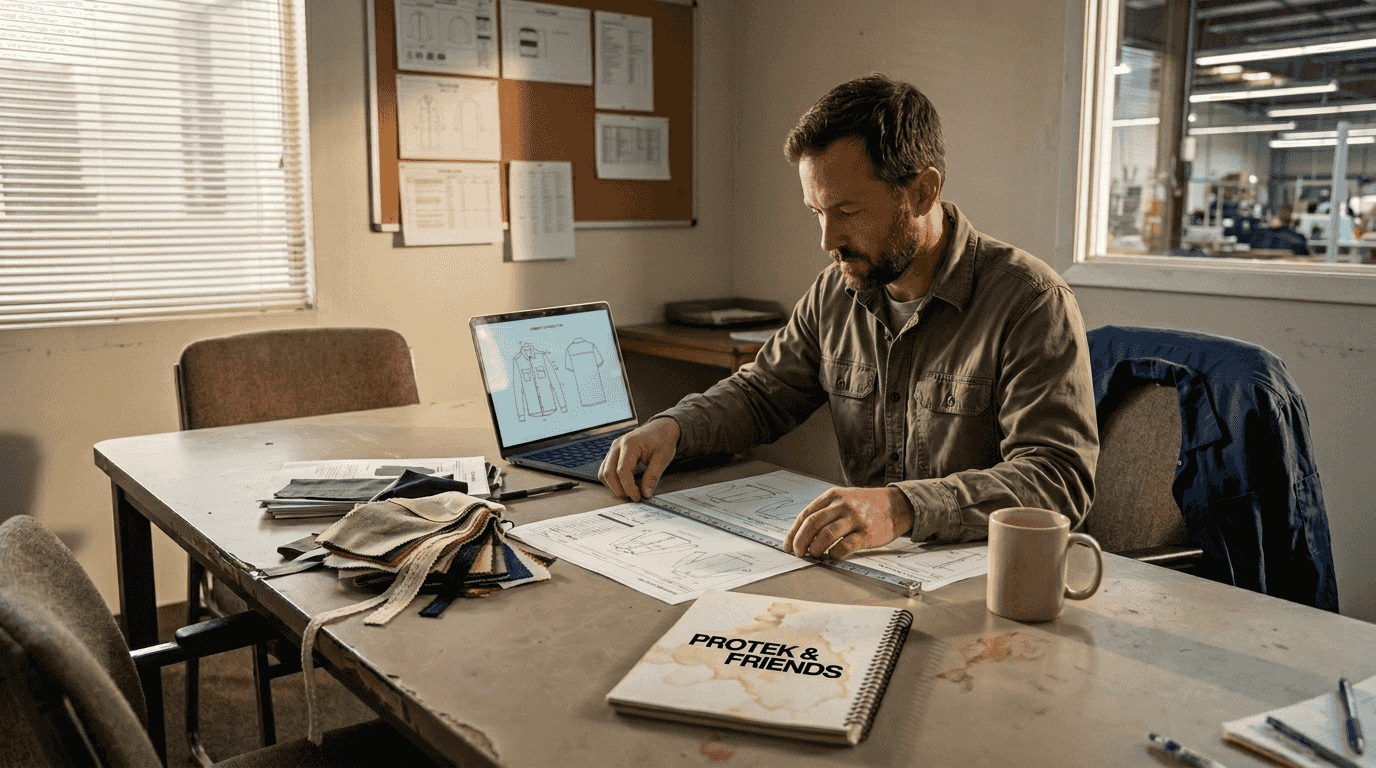
Step 2: documentation & communication
After refining your designs, the focus shifts to clear documentation and maintaining transparent communication to ensure alignment. Poor documentation causes more production failures than any other single factor.
Create tech packs detailing measurements, materials, trims, construction notes, and visuals. Every measurement point needs labeling with tolerance ranges. Include front, back, and detail views with callouts for specific construction requirements. Clear tech pack documentation reduces costly revisions by approximately 40%.
Use standardized templates for consistency across all styles. When every tech pack follows the same format, manufacturers can process them faster and with fewer questions. Define communication channels and frequency with manufacturers upfront to establish clear expectations about response times and update schedules.
Record and confirm all sample requirements in writing to prevent ambiguity. Email confirmations create paper trails that protect both parties when questions arise. Learning about types of garment sampling helps you specify exactly which sample type you need at each development stage.
Essential tech pack components:
- Flat technical sketches (front, back, details)
- Complete measurement spec sheet with tolerances
- Bill of materials (fabrics, trims, labels, packaging)
- Construction notes with stitch types and seam specifications
- Color standards and Pantone references
- Quality standards and inspection criteria
Pro Tip: Schedule regular check-ins to track progress and catch issues early. Weekly calls or email updates keep everyone aligned and surface problems while they're still easy to fix.
Step 3: fit correction & revisions
With documentation aligned, the next phase is rigorous fit testing and precise revisions to perfect sizing. Fit issues cause the highest rate of customer returns, making this step critical for brand reputation.
Organize fit tests with real users representing your target audience. Fit models should match your customer demographics in body type, height, and proportions. Testing on a single body type creates sizing problems across your range.
- First fit test reveals major proportion issues and overall silhouette problems
- Second fit test confirms adjustments and identifies subtle fit refinements
- Third fit test validates final sample before production approval
Plan for two to three rounds of fit revisions to refine the garment. Rushing this process creates expensive problems in bulk production. Using a grading and marking system during sample development ensures consistent sizing and reduces post-production complaints by 40%.
Collect detailed fit feedback and document changes precisely. Note where fabric pulls, gaps appear, or proportions feel off. Photograph fit issues from multiple angles to communicate clearly with pattern makers. Understanding the role of sampling in fashion production helps contextualize why iterative fit correction reduces product returns and boosts customer satisfaction.
Fit testing best practices:
- Test multiple sizes, not just your base size
- Photograph each fit session from consistent angles
- Document feedback immediately while fresh
- Compare samples side by side to track improvements
- Have fit models perform normal movements (sitting, reaching, bending)
Step 4: cost breakdown & timeline mapping
After achieving a fit-ready sample, mapping costs and timelines is essential to guide your production plan. Surprises in either area derail launches and damage vendor relationships.
Typical sample development cost ranges from $150 to $300 per style depending on complexity and materials. Simple t-shirts sit at the lower end while structured jackets or garments with specialty finishes cost significantly more. Development timelines usually span 4 to 6 weeks including fit and quality checks.
Build timeline buffers around milestone reviews to handle unforeseen delays. Fabric delays, shipping issues, or unexpected fit problems consume buffer time without pushing final deadlines. Set clear cost categories covering materials, labor, shipping, and specialized finishes to prevent budget creep.
Use milestone mapping to track each stage and communicate status to stakeholders. Breaking the process into discrete checkpoints makes delays visible early when you can still course correct. The structured apparel production workflow approach helps brands protect margins by planning comprehensively upfront.
| Cost Category | Domestic | Overseas |
|---|---|---|
| Sample Development | $200-$400 | $150-$300 |
| Shipping | $30-$50 (2-3 days) | $50-$100 (7-14 days) |
| Rush Fees | 25-50% premium | 30-60% premium |
| Revision Rounds | $75-$150 each | $50-$100 each |
| Timeline Buffer | 3-5 days | 7-10 days |
Key timeline milestones:
- Design approval to first sample: 10-14 days
- First fit test and feedback: 2-3 days
- Revisions and second sample: 7-10 days
- Final approval and documentation: 3-5 days
- Contingency buffer: 5-7 days
Step 5: quality control checks
With fit finalized and costs planned, the last critical step before production is thorough quality control of your final samples. Skipping this stage creates expensive bulk production disasters.
Define clear quality standards and inspection criteria specific to your product. Standards should cover stitching quality, measurement accuracy, fabric defects, and finishing details. Perform thorough sample checks for stitching, fit, fabric flaws, and finishings using a standardized checklist that covers every component.
Document findings and collaboratively decide on sample approval or revisions. Photographs of issues create clear communication about what needs correction. Use quality control results to finalize readiness for bulk production batch and set expectations with manufacturers about acceptable defect rates.
Consistent QC reduces defects in large orders by up to 50%. The cost of thorough sample inspection is minimal compared to rejecting thousands of defective units. Establish feedback loops with manufacturers to continuously improve quality by sharing inspection results and discussing prevention strategies.
Quality control checklist:
- Measure all spec points and compare to tech pack
- Inspect seam quality and stitch consistency
- Check fabric for flaws, shading, or damage
- Verify trim placement and attachment security
- Test functional elements (zippers, buttons, snaps)
- Confirm labeling accuracy and placement
- Assess overall finish and presentation
Effective management of clothing production depends on establishing quality standards during sampling that carry through to bulk orders.
Common mistakes & troubleshooting in sample development
Having executed the main process steps, now learn how to avoid common pitfalls to keep your sample development efficient and cost effective. These mistakes account for the majority of timeline delays and budget overruns.
Poor communication causes 60% of missed deadlines in fashion production. Solution: structured updates and centralized communication through project management tools or regular status calls eliminate confusion.
Skipping fit testing leads to 45% higher returns and product dissatisfaction. Solution: always perform two to three fit test rounds with real wearers who match your target customer profile before approving final samples.
Lack of detailed documentation leads to expensive reworks. Solution: comprehensive tech packs with visual aids ensure manufacturers understand exactly what you expect. Ignoring timeline buffers causes overruns. Solution: build contingency days and track milestones strictly to maintain schedule discipline.
Overlooking sample quality control results in costly bulk production mistakes. Solution: implement standard QC protocols and document findings for every sample iteration. Understanding different types of garment sampling helps you choose the right sample type for each development stage, preventing wasted effort on unnecessary iterations.
Poor communication alone accounts for 60% of production timeline failures, making structured updates and clear documentation your most powerful tools for staying on schedule.
Common troubleshooting scenarios:
- Samples arrive late: Check shipping method, add buffer time, consider domestic options for speed
- Fit issues persist after revisions: Reevaluate pattern base, test additional body types, consult fit specialist
- Costs exceed budget: Simplify design elements, reduce special finishes, negotiate volume commitments
- Quality inconsistencies: Tighten inspection criteria, provide reference samples, visit factory if possible
- Communication breakdowns: Establish single point of contact, use visual aids, confirm understanding
The role of sampling in fashion production extends beyond just getting a physical garment. Sampling validates your entire production approach before committing large investments.
Expected results & outcomes: benchmarks for success
After identifying and correcting errors, this section sets clear goals and benchmarks for successful sample development and smooth scaling. Measuring your performance against industry standards reveals where your process excels or needs improvement.
Aim to approve final samples within 4 to 6 weeks from design approval. Longer timelines suggest bottlenecks in communication, decision making, or vendor performance. Target cost range for sample development between $150 and $300 per style, adjusting for complexity and specialty requirements.
Achieve a 50% reduction in bulk production defects through sample quality control. When sampling catches issues early, bulk orders run smoothly with minimal rejections. Reduce production revisions by about 40% with clear documentation and tech packs that eliminate ambiguity.
Consistently finalize fit after two to three revision cycles for stable sizing. More iterations suggest fundamental pattern or grading issues that need expert intervention. The structured apparel production workflow approach helps brands hit these benchmarks consistently.
| Success Metric | Target Benchmark | Impact |
|---|---|---|
| Sample Approval Timeline | 4-6 weeks | Faster market entry |
| Sample Development Cost | $150-$300 per style | Protected margins |
| Bulk Defect Reduction | 50% improvement | Higher quality reputation |
| Revision Rate | 40% fewer changes | Lower development costs |
| Fit Cycles | 2-3 iterations | Consistent sizing |
Success indicators:
- Manufacturers respond to questions within 24 hours
- Tech pack clarity requires minimal follow-up questions
- Fit models provide consistent feedback across sessions
- Quality issues decrease with each sample iteration
- Timeline buffers cover most unexpected delays
- Cost estimates match actual invoices within 10%
Streamline your clothing sample development with Protek & Friends
With clear success benchmarks in mind, discover how Protek & Friends supports your brand's smooth sampling and production journey.
Protek & Friends offers expert clothing production services in the USA and overseas. They provide tailored sample development guidance aligned with proven workflows that eliminate chaos.
Clients benefit from transparent communication, quality control, and timeline tracking throughout every development stage. Explore how you can compare Protek to other manufacturers and learn practical guidance like how many samples before bulk production you actually need. Their services help fashion brands efficiently scale with confidence and minimized risk.
FAQ
How long does clothing sample development usually take?
Sample development usually takes 4 to 6 weeks including design review, fit testing, and quality control. Timeline buffers may extend duration depending on complexity.
What are the main factors that influence clothing sample costs?
Costs depend on garment complexity, fabric choice, trims, and special finishes. Domestic sampling tends to cost more than overseas but offers faster turnaround.
How many fit tests should I schedule during sample development?
Scheduling two to three fit test rounds ensures consistent sizing and reduces returns. Fit tests should involve users representing the target customer profile.
Why is clear documentation important in sample development?
Clear documentation aligns designers and manufacturers, reducing revisions by about 40%. It ensures each sample matches design and production expectations.
What are common mistakes to avoid during sample development?
Poor communication, skipping fit tests, ignoring timelines, and weak quality control cause delays and defects. Establish protocols early and maintain disciplined process adherence to prevent issues.